Crafters love their supplies. In fact, sometimes it feels like buying craft supplies is more fun than actually doing the craft! Here are the 6 best craft room organization ideas to keep your craft room clean and ready for use.
I’m a knitter and I also do hand lettering. I know how fun it is to accumulate beautiful supplies. (I have a lot of yarn and a lot of pens!) The good news is that those supplies can be used for future projects. The bad news is that unless your supplies are organized, you might not be able to find them when you want to use them.

An important component to enjoyable crafting is having a clean and pleasant space in which to do the work. Some people are lucky enough to have an actual craft room. Others might be limited to a craft area in a common space. Whatever your situation, you probably know that an overabundance of supplies can make having a clutter-free craft space challenging.
I’m here to help.
As a professional organizer, I love using craft room organization ideas. What looks like an overwhelming mess to the client feels like a playground to me. There’s nothing more satisfying than turning a chaotic room into an uncluttered, well-organized space for the client to enjoy creating in!
How to Organize a Craft Room
Let me walk you through the process I use for craft room organization ideas to help my clients have a craft space they can enjoy. (I use the same process with my own craft supplies from time to time.)

Step 1: Make two lists.
Make a list of the crafts you enjoy doing now or think you will enjoy doing once you have an organized craft space you can work in. Then think about the crafts you no longer do or no longer aspire to do. Are there any that you purchased craft supplies for that you never actually started? Add those crafts to a separate list. Thinking about this in advance will come in handy when it comes time to declutter.
Step 2: Bring together all your craft supplies
If possible, even if they’re scattered around your house. At the very least, you want to see all your supplies for a single craft together during the sorting phase.
I’m a big fan of breaking big projects down into small tasks. But be aware that when you start sorting your craft space it’s going to look worse before it gets better. If you can, set aside a half or whole day for the decluttering phase so that you can get through the chaos quickly.
Gather up some empty containers you can use for different categories of supplies.

Step 3: Start sorting!
If you enjoy multiple crafts, I suggest that you break your sorting into two phases.
Phase 1: Sort by craft or type of craft (fiber vs cloth vs paper, for example). You’ll have just a few categories. Make this high-level sort a quick one. If you have supplies that fall into multiple categories, create a multi-craft category.
Phase 2: Sort the contents of each category into smaller categories.

For example, if I’m sorting out my knitting supplies, I’d have categories like these: yarn, needles, notions, patterns, works in progress. If I were helping a quilter sort, we might have categories like these: bolts, fat quarters, scraps, thread, notions, tools, works in progress.
It’s worthwhile to do the high-level sort when you have multiple crafts so you don’t have as many subcategories. It also makes less of a mess if you separate your knitting from your sewing supplies at the outset.
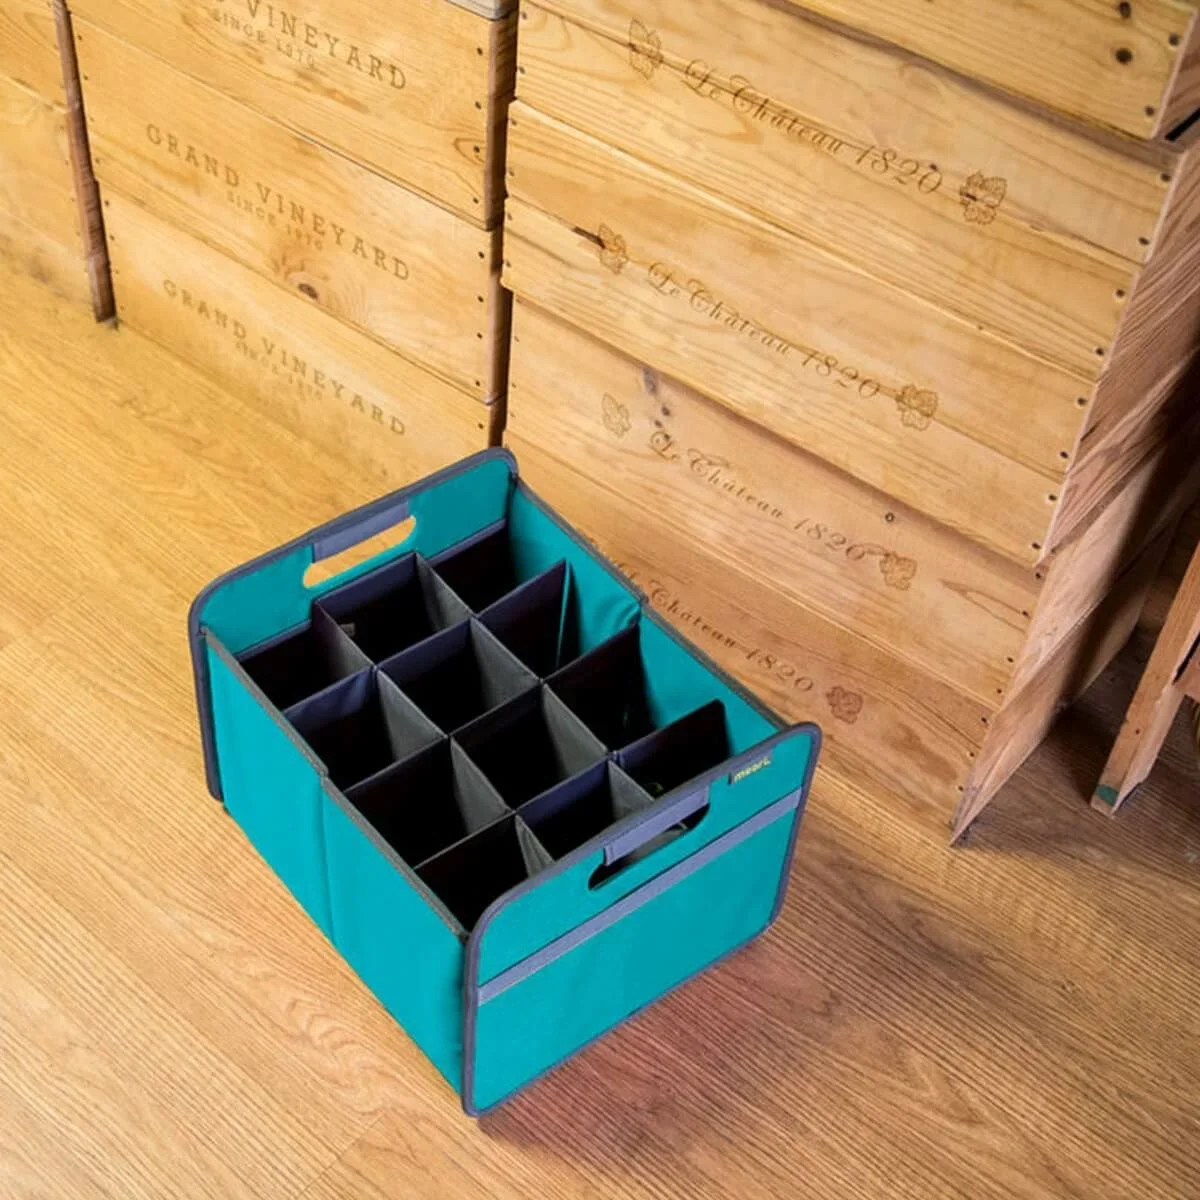
As you’re doing the Phase 1 sorting, keep a lookout for supplies for the crafts that no longer tickle your fancy. Put those supplies aside to give away or sell to people who would appreciate them. You might use a box like meori’s Large Foldable Box as a donation station for this (and future) decluttering sessions.
Keep sorting like with like so you can eventually see how many items you have in a single category. Once you’ve sorted everything and let go of the supplies for crafts you no longer do, it’s time to take a look at supplies for your current crafts. Sorting can be one of the most helpful craft room organization ideas.
Step 4: Decide to decide.
After your items are sorted and you can see how much you have in any category, it’s time to decide what you want to keep. If your craft room storage is tight, I encourage you to think of each item earning its way into your craft room. So instead of thinking, “should I get rid of this?” think “Should I keep this?”
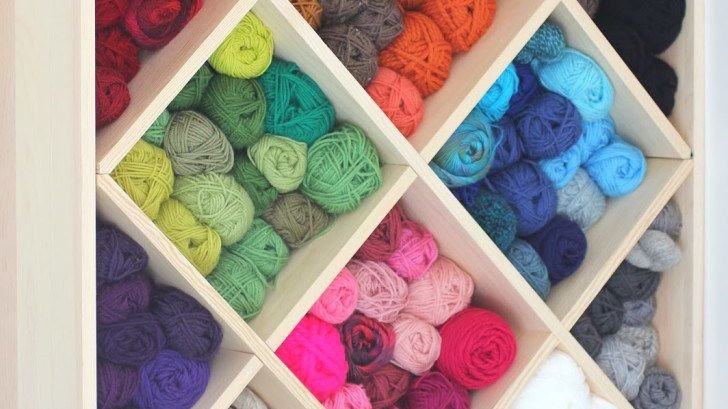
Remember, the more craft supplies you let go of, the easier it will be to access the supplies that you want to use. Instead of cluttering up your space, these unused or substandard supplies can lead a new life where they’re loved.
Look at each item critically and objectively. Ask yourself whether you anticipate using each item. You may discover supplies you once liked (or perhaps never liked) that you realize you won’t use again. For example, I no longer knit with yarn that doesn’t feel great in my hands, so in a recent decluttering session, I let go all my acrylic yarn and a bunch of novelty yarn. I discovered projects that were stalled because of unenjoyable yarn. I unraveled those projects and donated the yarn.
If you sew or quilt, your taste in fabric may have changed. If you do lettering or card making, you may have discovered pens or paper you like a lot more than the ones you bought when you first started crafting.
When you come across those supplies that no longer meet your quality standards, I encourage you to let them go! Perhaps some beginner crafters will have the thrill of finding them at the thrift store.
I also encourage you to let go of the idea that you have to hang on to supplies that you don’t use just because you paid a lot for them. The money is spent and the only way you’ll get it back is to sell the items. If you have an easy way to sell them, go for it. But you might benefit more from just donating them and gaining valuable space in your craft room.
Remember, by letting go of those items that don’t serve your craft, you are making space to actually enjoy crafting.
Take a look at duplicates. How many identical or near-identical supplies do you need? Keep in mind your storage space constraints as you make these decisions. Less really can be more.

Step 5: Find everything a home.
This is one of the most important craft room organization ideas. Now that you know what you want to keep it’s time to figure out how to store all your supplies. I always suggest that you wait until this point before buying storage solutions. Once you know what you want to store, you can shop for craft organizers that work well for your pared-down collection.
There is no one right way to organize craft supplies (or, really, anything). I suggest you store things in categories that make sense to you. For example, with my yarn I separate the wool yarn by weight but I put all cotton yarn together. It wouldn’t make sense in a yarn store, but it works for me.
Think about your favorite craft store. How is it organized? What do you love about it? Use that as the basis of your own craft organization system. If you enjoy multiple crafts, think about how each of those crafts is organized at your favorite store or stores.
As you sorted your items for your current crafts, subcategories probably emerged. Give yourself permission to experiment with the categories you use to store your supplies, knowing you can always tweak your system later.
Your craft room is probably not only for the storage of your supplies but for the actual crafting. Think about your ideal work space. What do you need in it to make it work for you? You may be inspired by browsing Pinterest, Instagram or YouTube. Think about what aspects of the craft space can help make it easy for you to enjoy your craft?
Your ideal space is probably a beautiful space. Beauty is very nice, but when I talk about craft room ideas with clients, I always emphasize accessibility. You want to make it easy to access and put away your supplies. That’s how you will keep your space clear and inviting. Here are some ideas for accessible storage:


- Use bins without lids. Unless you’ll be stacking bins, which is sometimes necessary, leave the lids off bins so that you don’t risk stacking items on top of the bin, rather than opening it and putting items away.
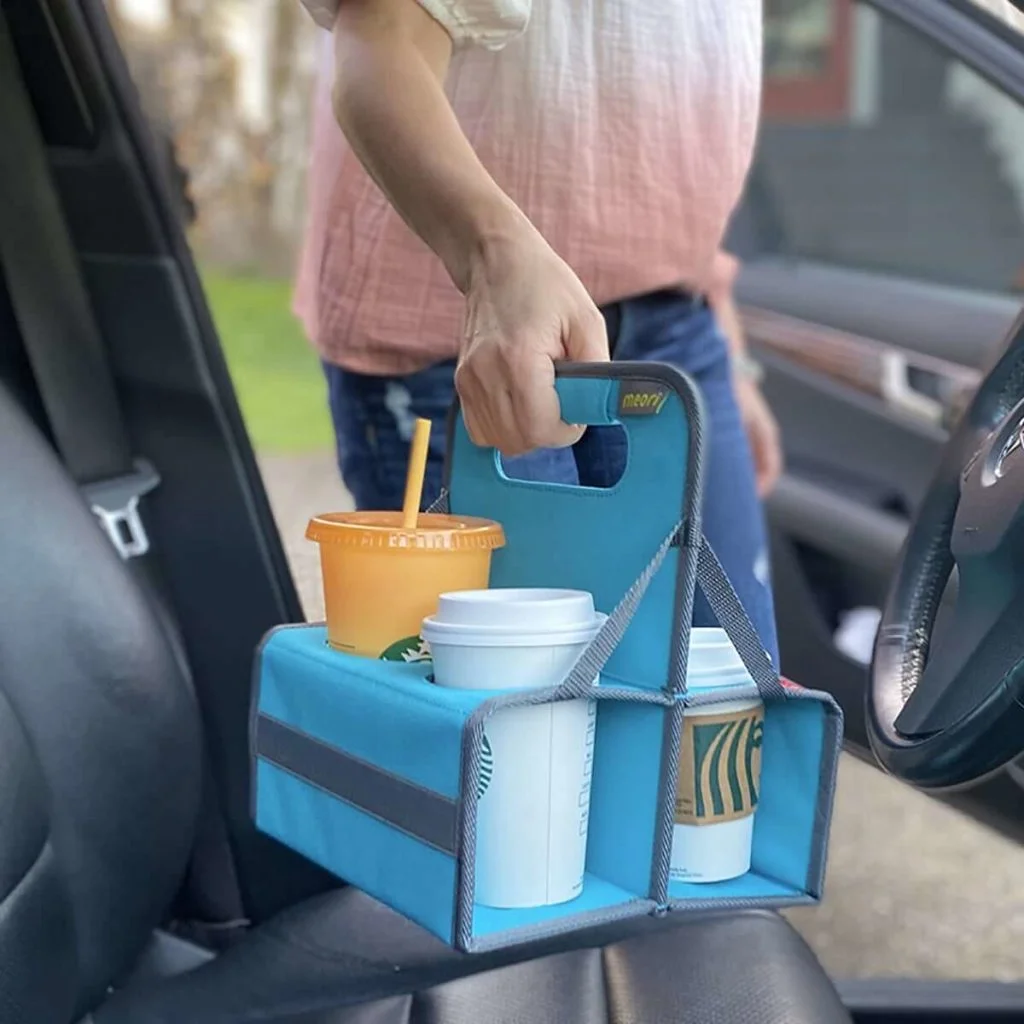
- Think about portability. Some crafters move from room to room with their supplies or even leave the house to craft with others (at least they did before the pandemic!). You might create kits of supplies for specific projects to make that easy. (The meori Foldable Tool/Hobby Box is handy for that.)
- Organize vertically. I store my pens and my straight knitting needles upright for easy access. It’s easy to see what I have and it’s easy to grab them. The meori Mini Box with Insert, for example, is great for organizing pens upright.
- You can also use wall space to expand your storage—shelving or hooks can be really handy for storing craft items. I have one friend, a sewing enthusiast, who used colorful reusable shopping bags to store her works in progress. She had one project per bag, stored on staggered hooks in her craft room. It was a wonderful combination of beauty and function!
- Label everything so that it is easy to find items and put them away. Labels also require you to categorize well enough to assign a label to the category, which is very useful. (I like broad categories over detailed ones. For example, “Adhesives” rather than “glue dots, glue sticks and tape.”) You don’t have to have a label maker to create labels. Post-it notes can do the trick, as can adhesive chalkboard labels or even painter’s tape and a Sharpie.
- Give your items some white space. If you cram items into a storage container (particularly if they’re standing on end), it becomes much harder to find what you’re looking for. This is true everywhere in your home, but it’s especially true of craft room organizers. If your items have room to move with ease, it’s much simpler to find and select the individual item (pen, yarn, thread, needle) that you seek.
Step 6: Shop at home.
Once you’ve let go of excess craft supplies and organized the supplies in a way that works with the way you think, you’ll have your own in-home craft store. When you want to start a new project, you’ll be able to see (and use) what you have, rather than going shopping. You save time and money. And you don’t overcrowd your space with supplies. It’s a win-win!
Most people craft for fun and relaxation. If you can keep your storage systems simple and create the habit of putting away items after you use them (I know that’s easier said than done with some crafts!), you can spend a lot more time crafting and a lot less time struggling to find what you’re looking for. Make sure you follow all of our 6 most helpful craft room organization ideas.
Learn the creative ways to organize your art studio.
Which idea was your favorite?
Janine Adams is a Certified Professional Organizer® in St. Louis, Missouri, and owner of Peace of Mind Organizing®. For over 15 years, she has been helping clients create orders in their homes. With life coach Shannon Wilkinson, she is the co-host of the podcast Getting to Good Enough about letting go of perfectionism so you can do more of what you love.

